
Your child snaps the last piece into place, leans back, and beams. The puzzle is finished. And then... what? For most families, the answer is a quiet tragedy: the puzzle goes back in the box, gets shaken apart on the next rainy afternoon, and the small masterpiece your five-year-old worked on for three evenings disappears as if it never happened. If you have ever felt a pang watching that happen, you are not alone. Parents tell us all the time that they wish they had a way to honor the effort, especially when the puzzle was a gift, a birthday memory, or features a personalised illustration of their child.
The good news is that framing a finished puzzle is genuinely easy, even if you do not consider yourself crafty. You do not need a workshop, expensive tools, or a weekend free. You need a flat surface, a bit of glue, and roughly an hour of hands-on time spread across two days. The result is a piece of wall art that costs a fraction of a printed canvas, carries real meaning for your child, and turns a finished puzzle into something they can point to and say, "I made that."
This guide walks through three approaches, organized by budget. The free DIY method uses puzzle glue and materials you can find at any craft store. The mid-range method uses ready-made IKEA frames, with a sizing chart matched to each of our puzzle formats. The premium method sends you to a local frame shop with a short, confident list of what to ask for. We also cover the small details that make the difference between a wobbly result and one that looks like it belongs above the bed: which glue does not yellow, how to flatten bubbles, and a few frameless options for kids' rooms where Command strips are the most realistic choice. By the end, you will know exactly how to frame a puzzle, and which method fits your home.
Before You Start: Pick a Puzzle Worth Framing
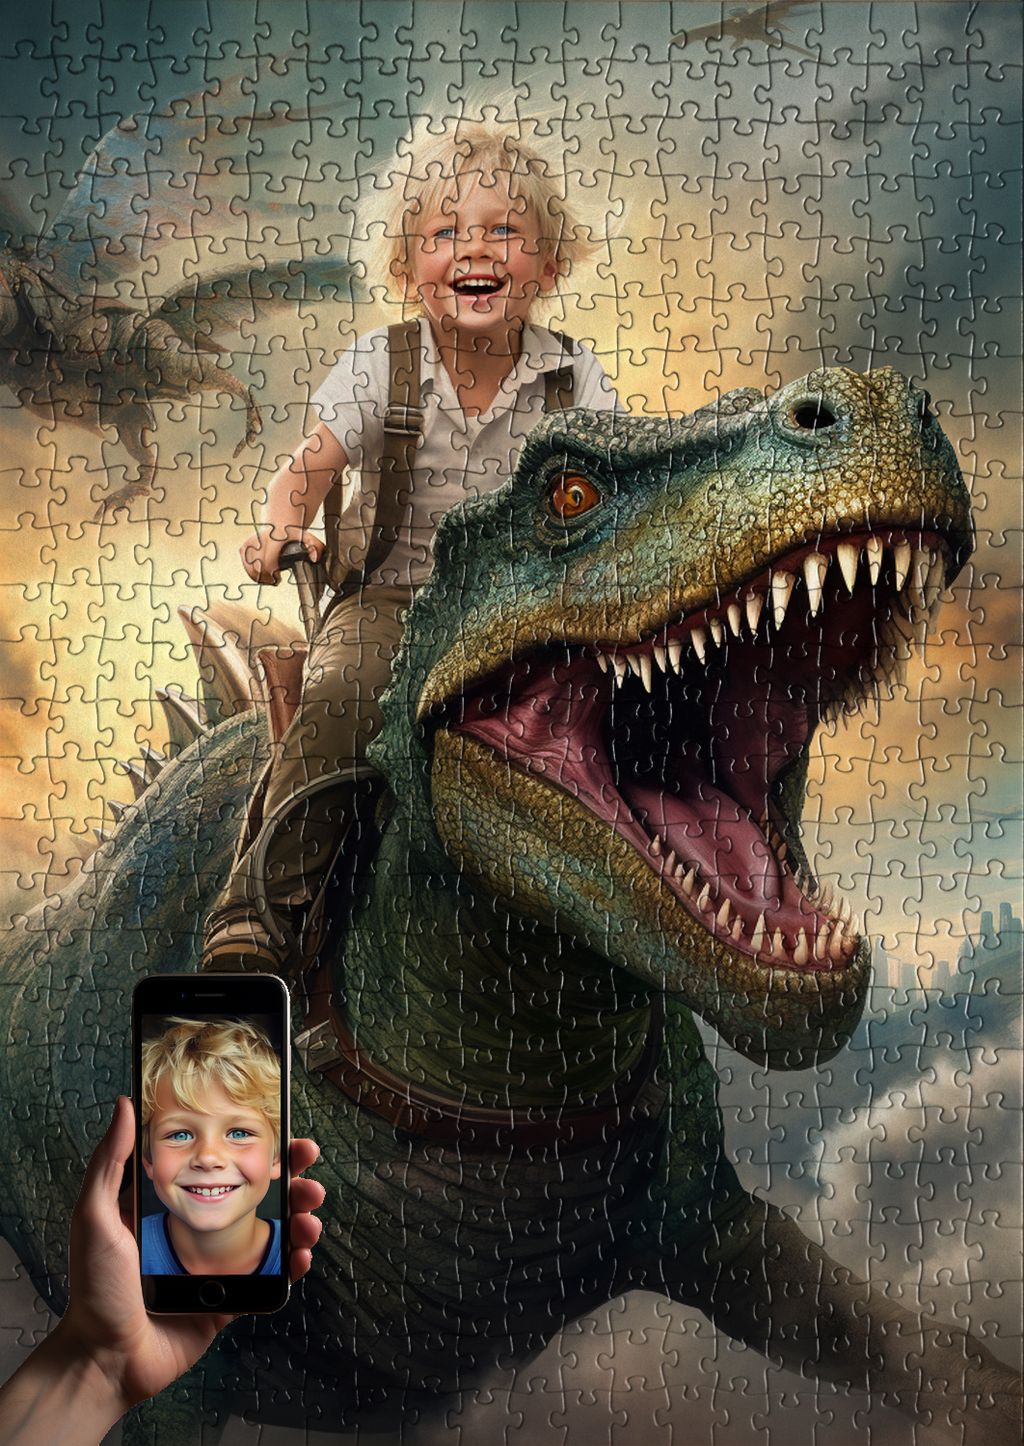
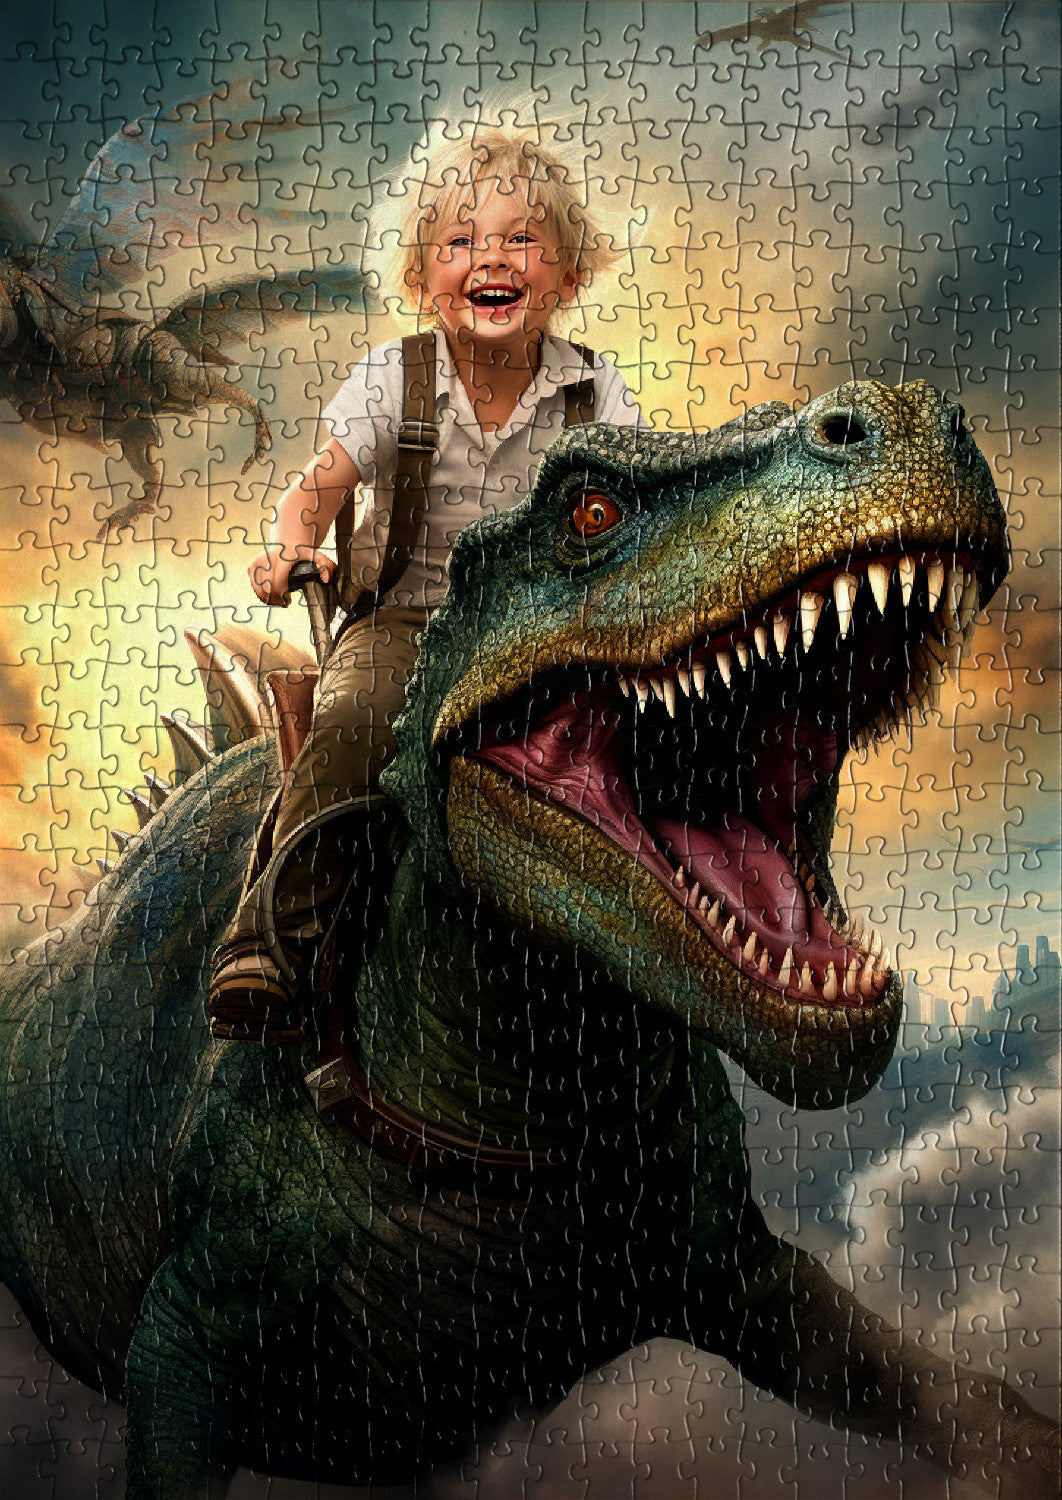
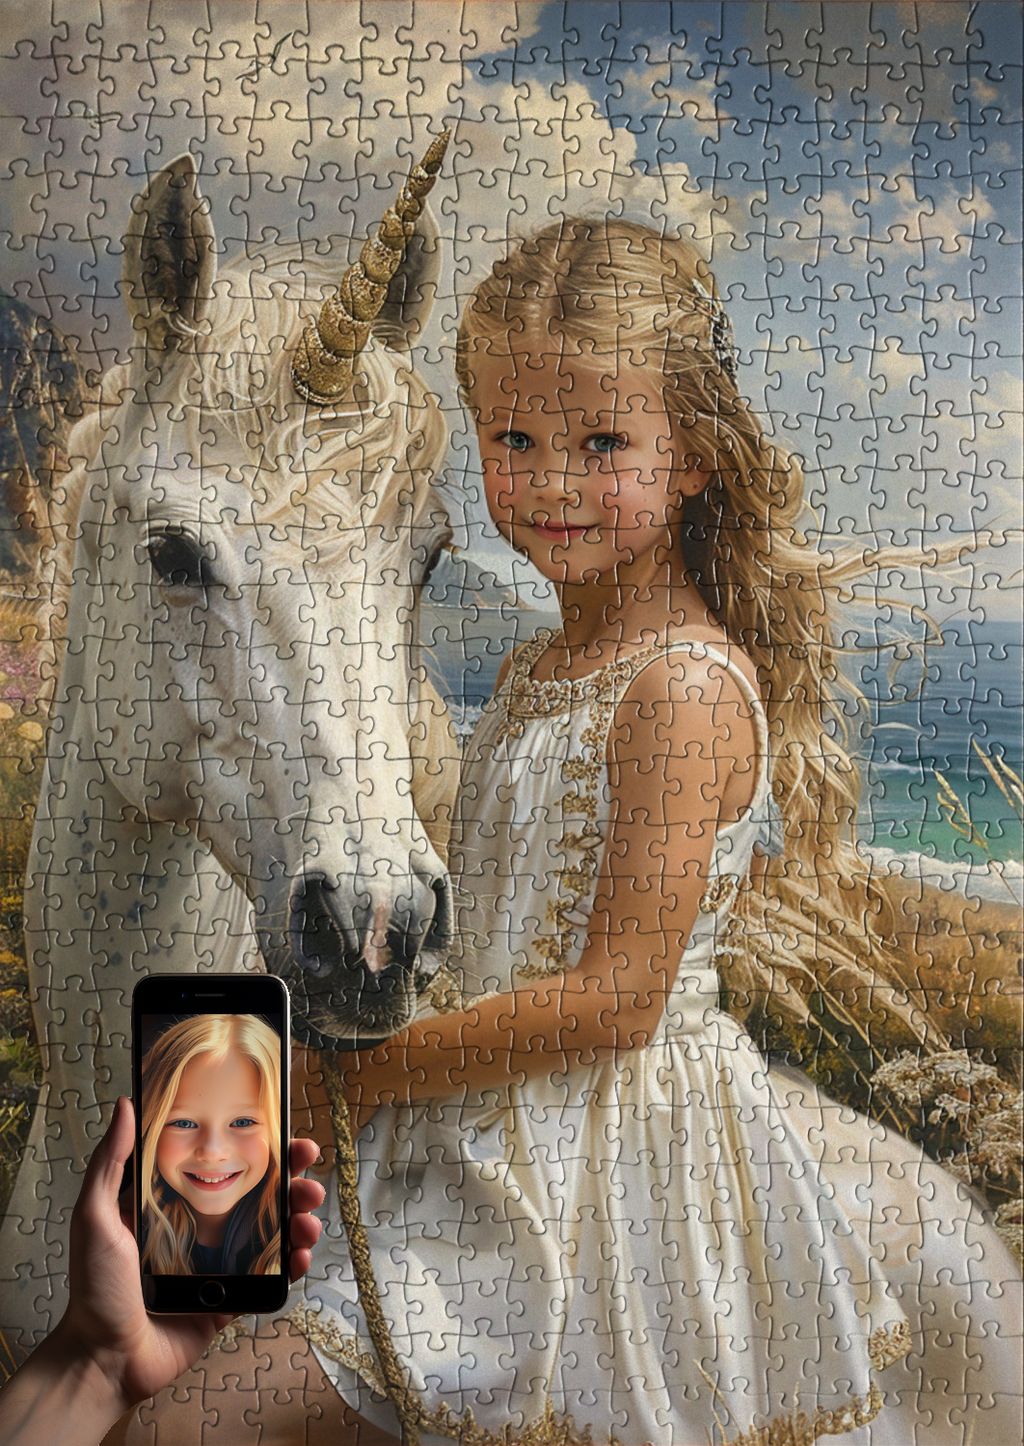
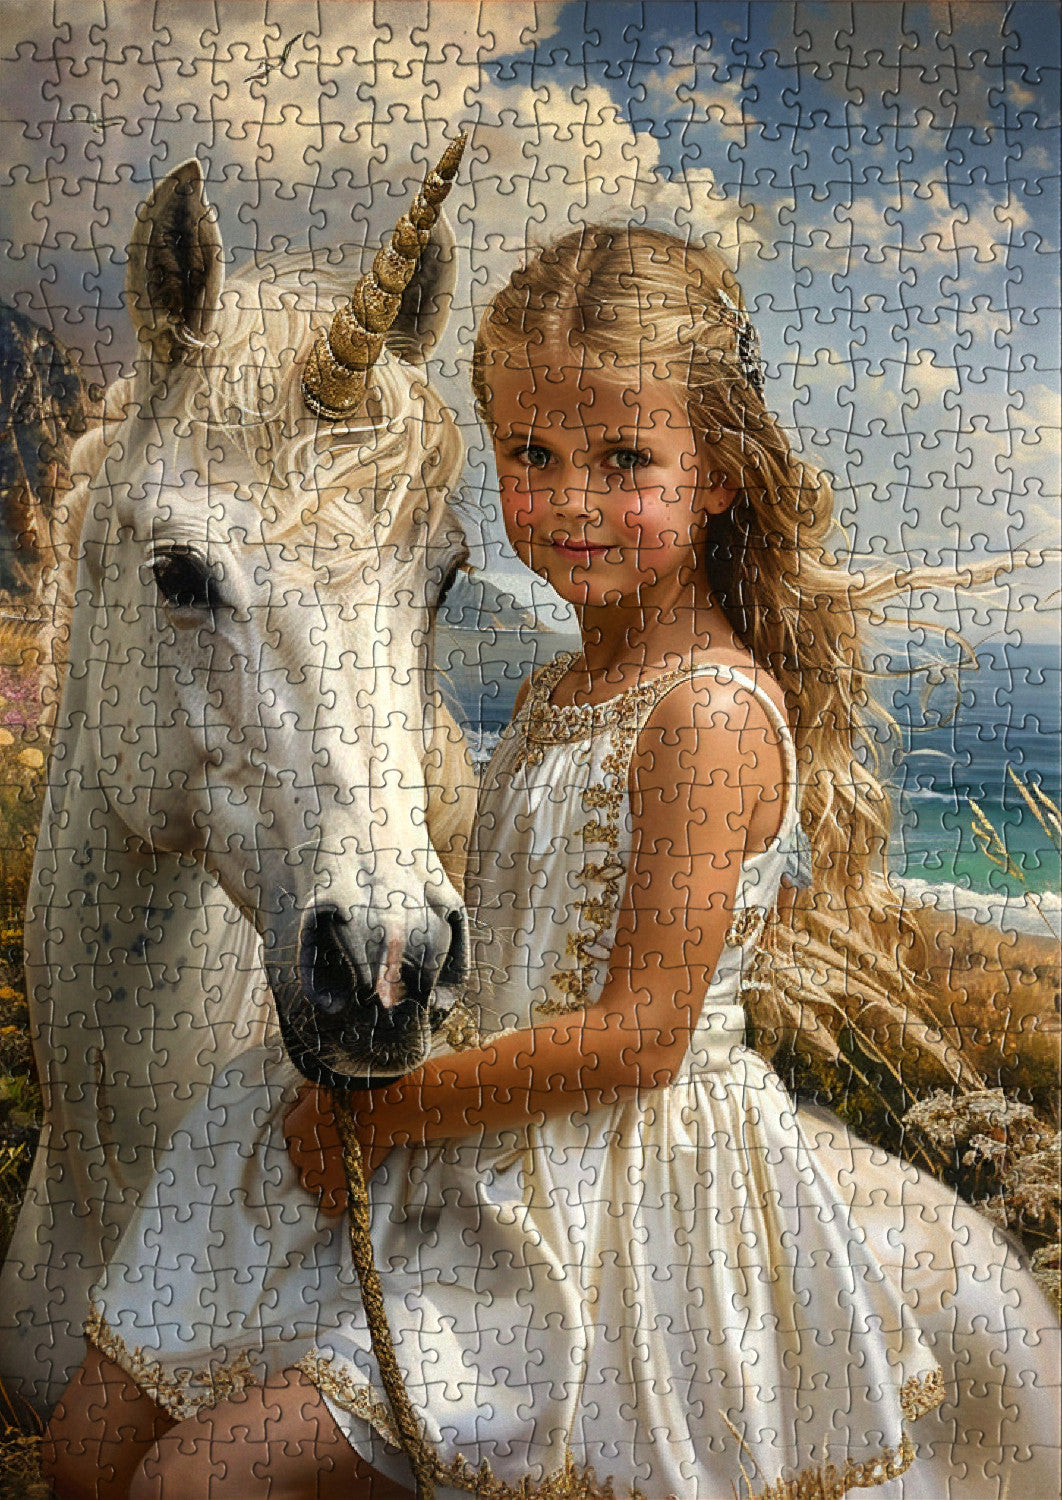
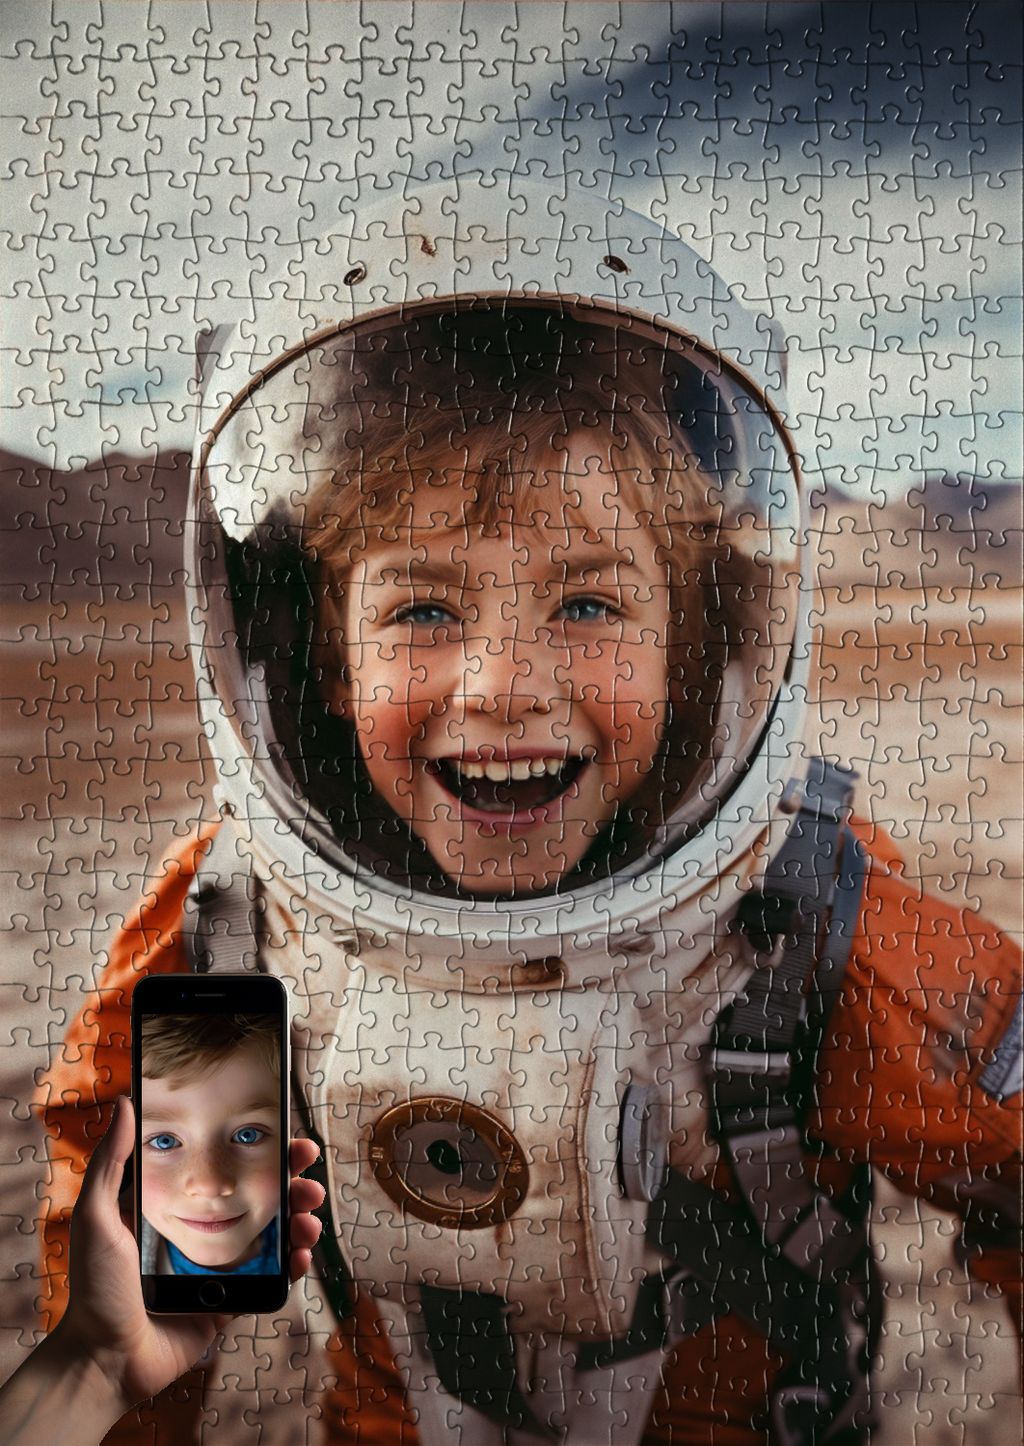
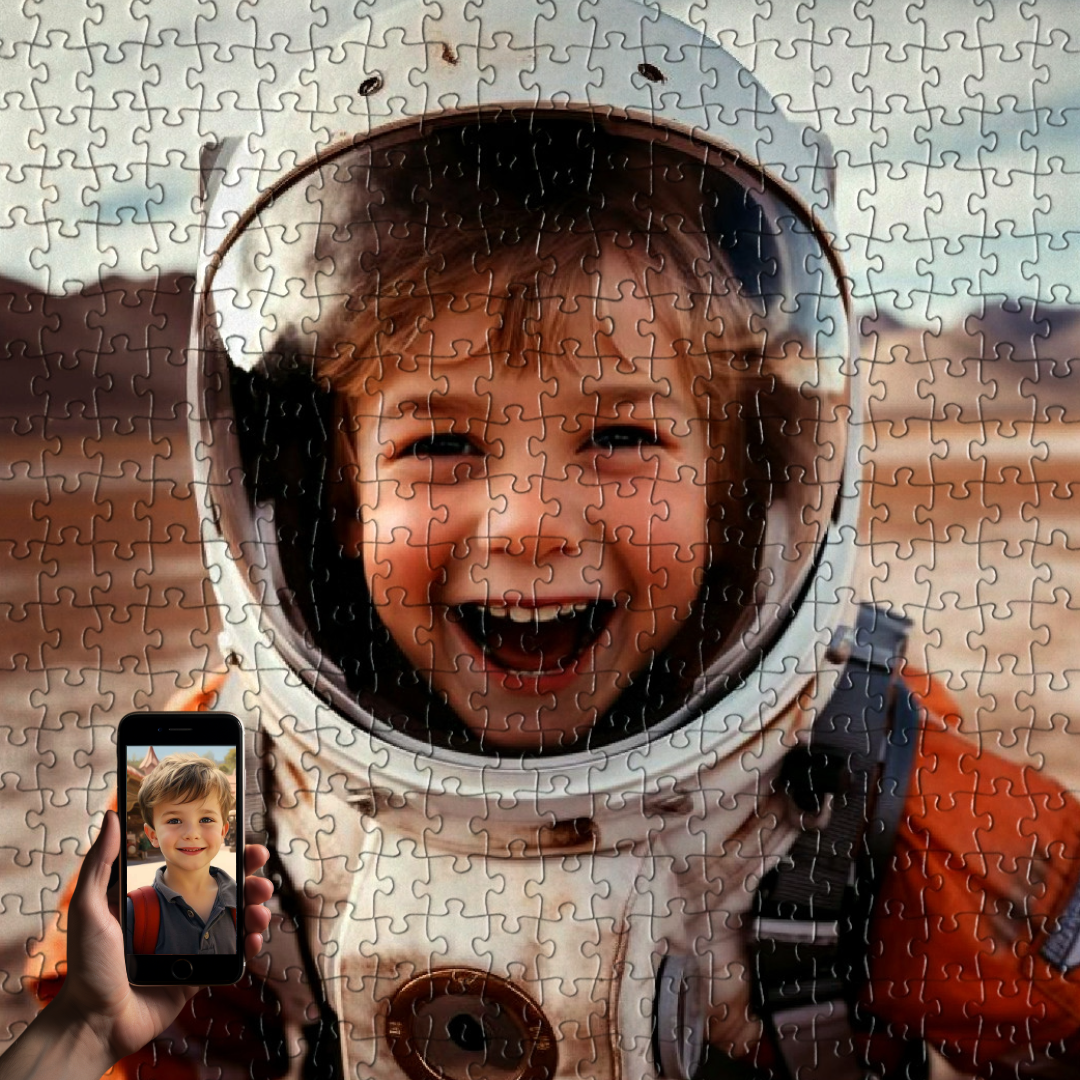
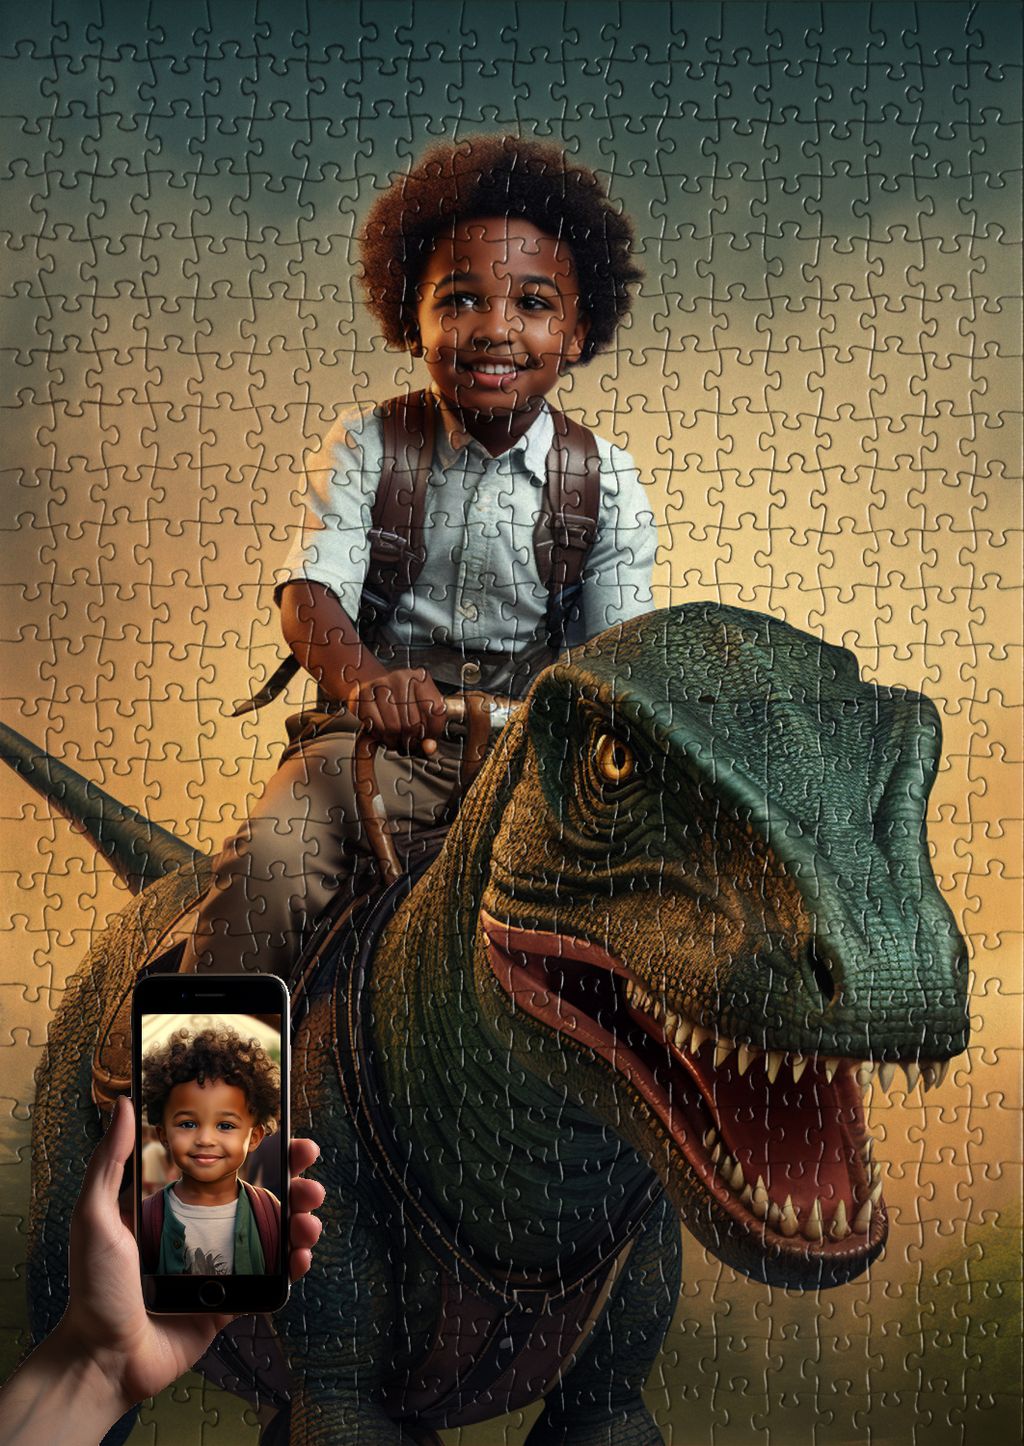
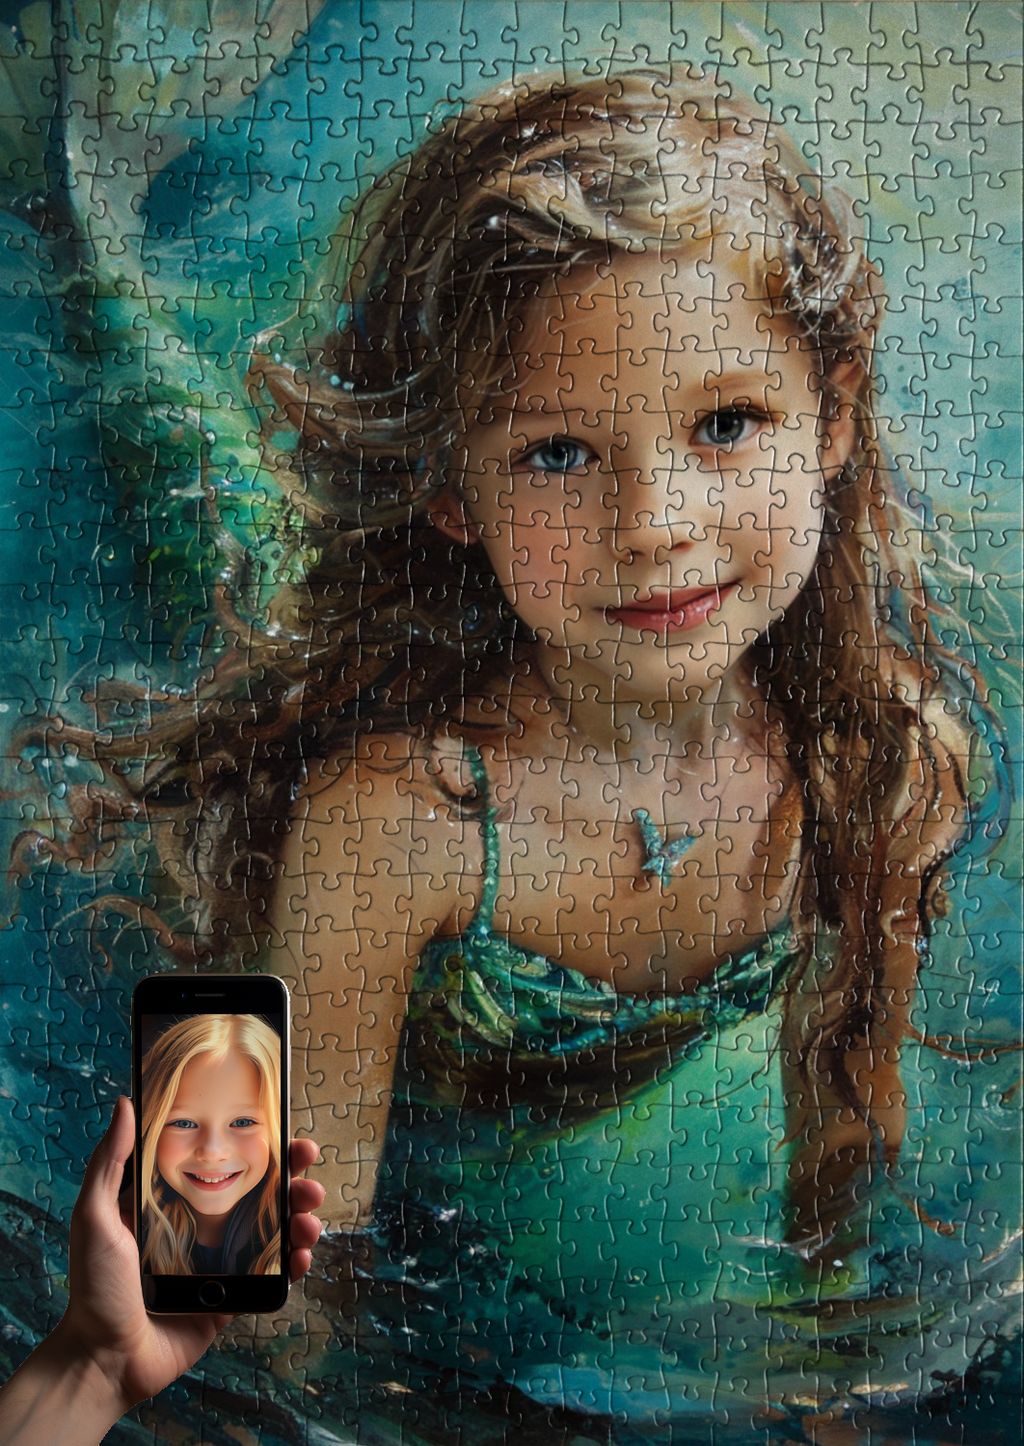
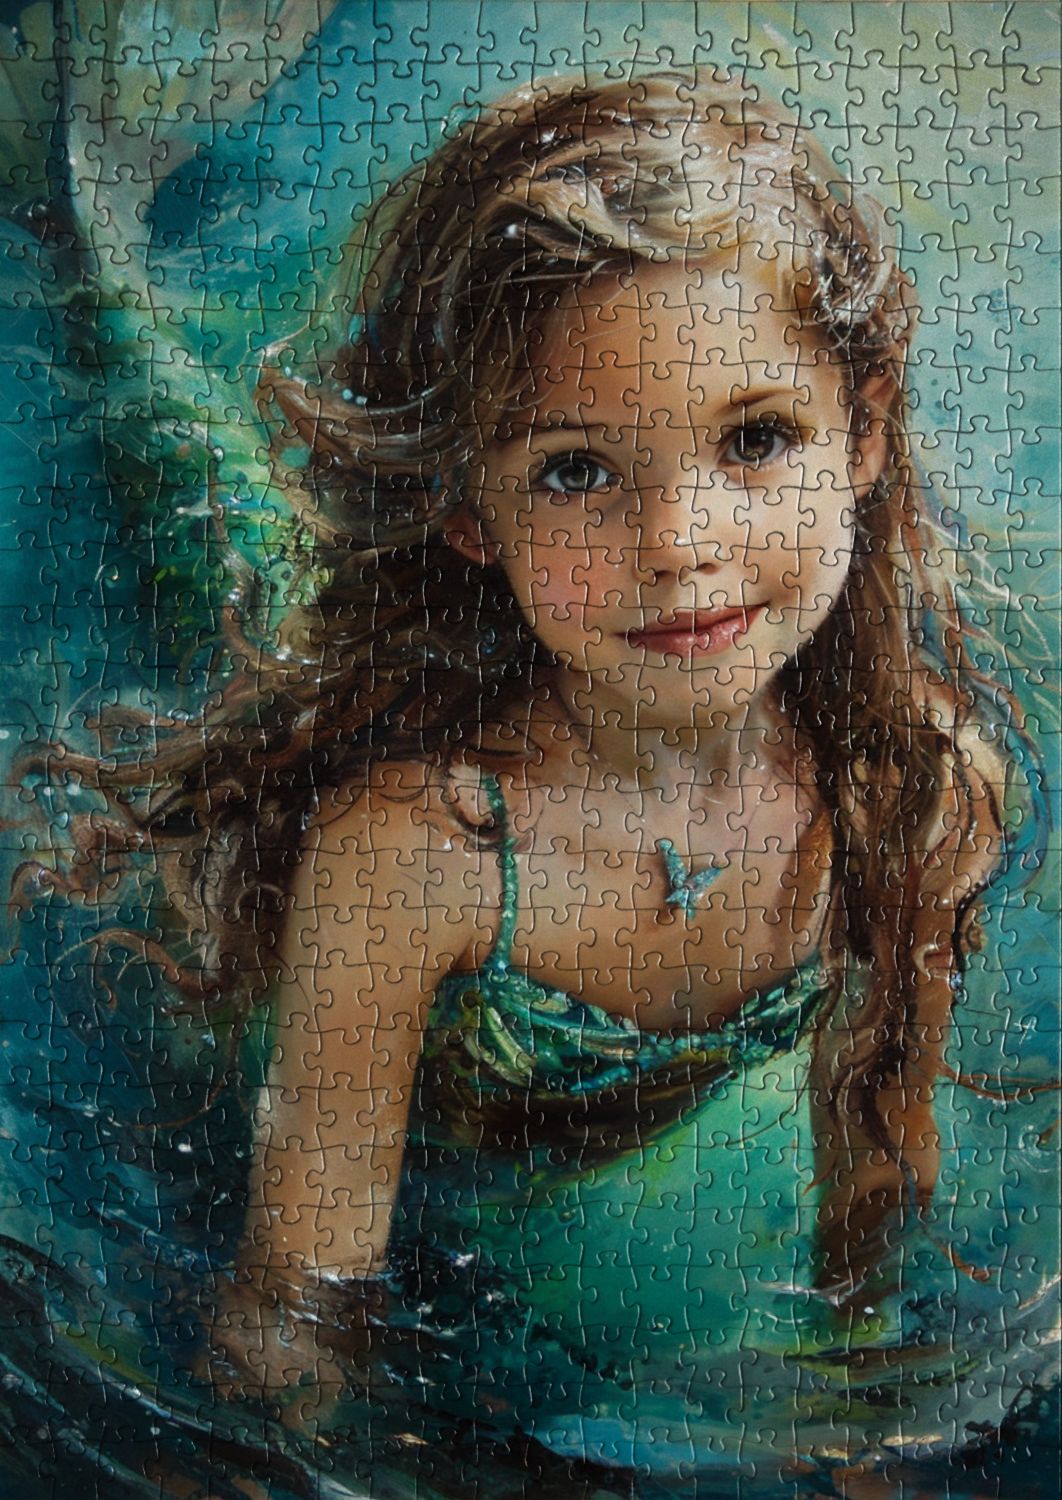
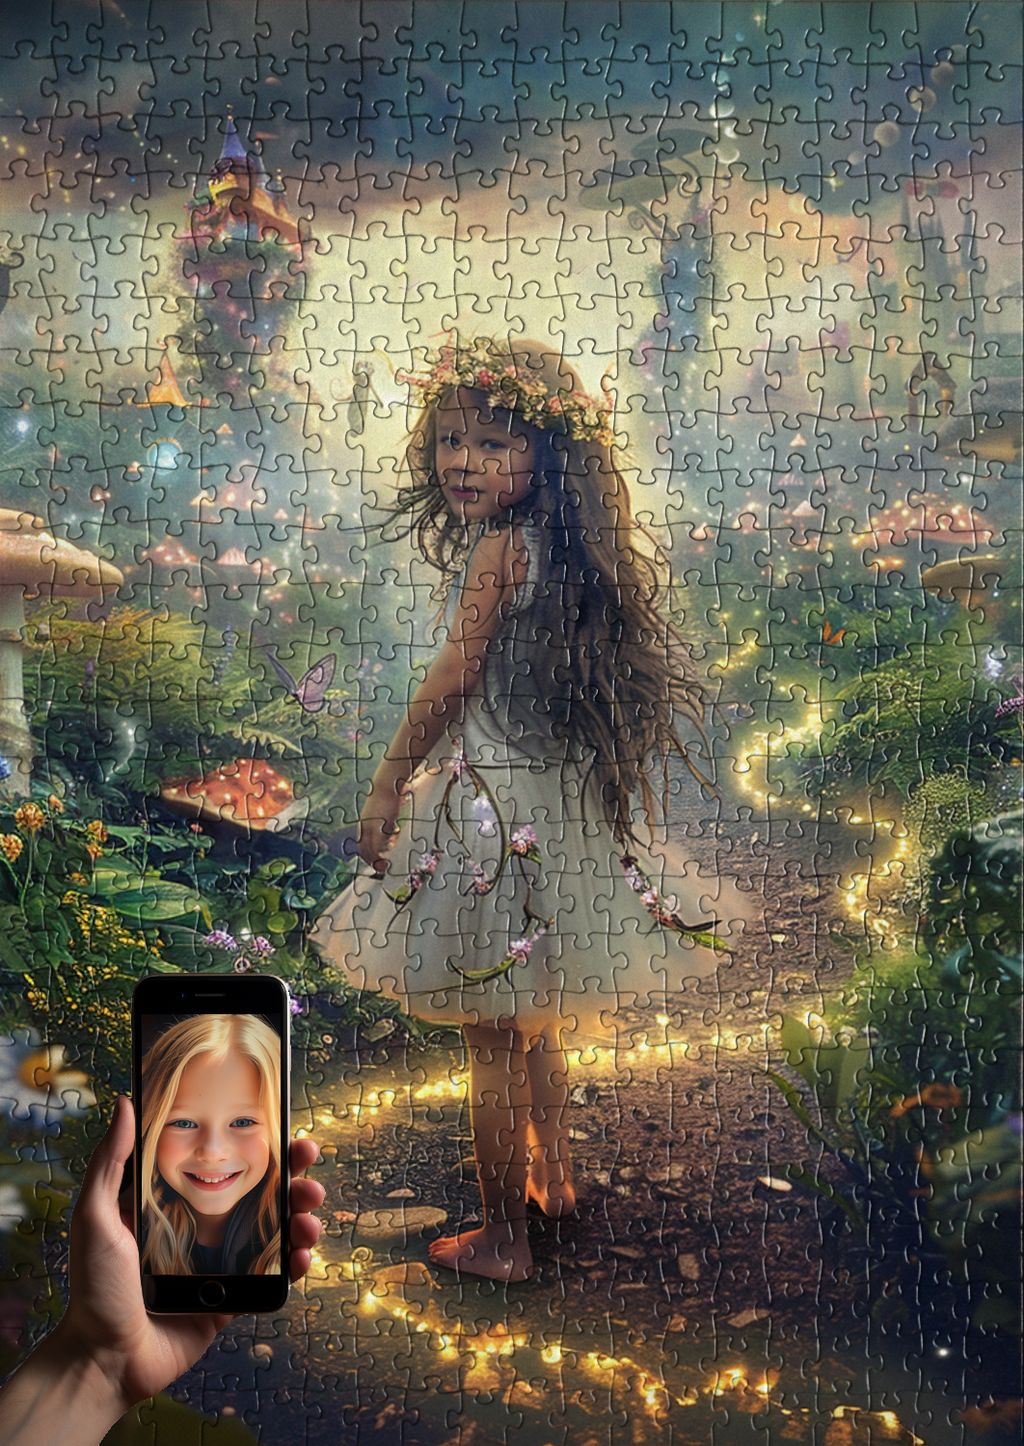
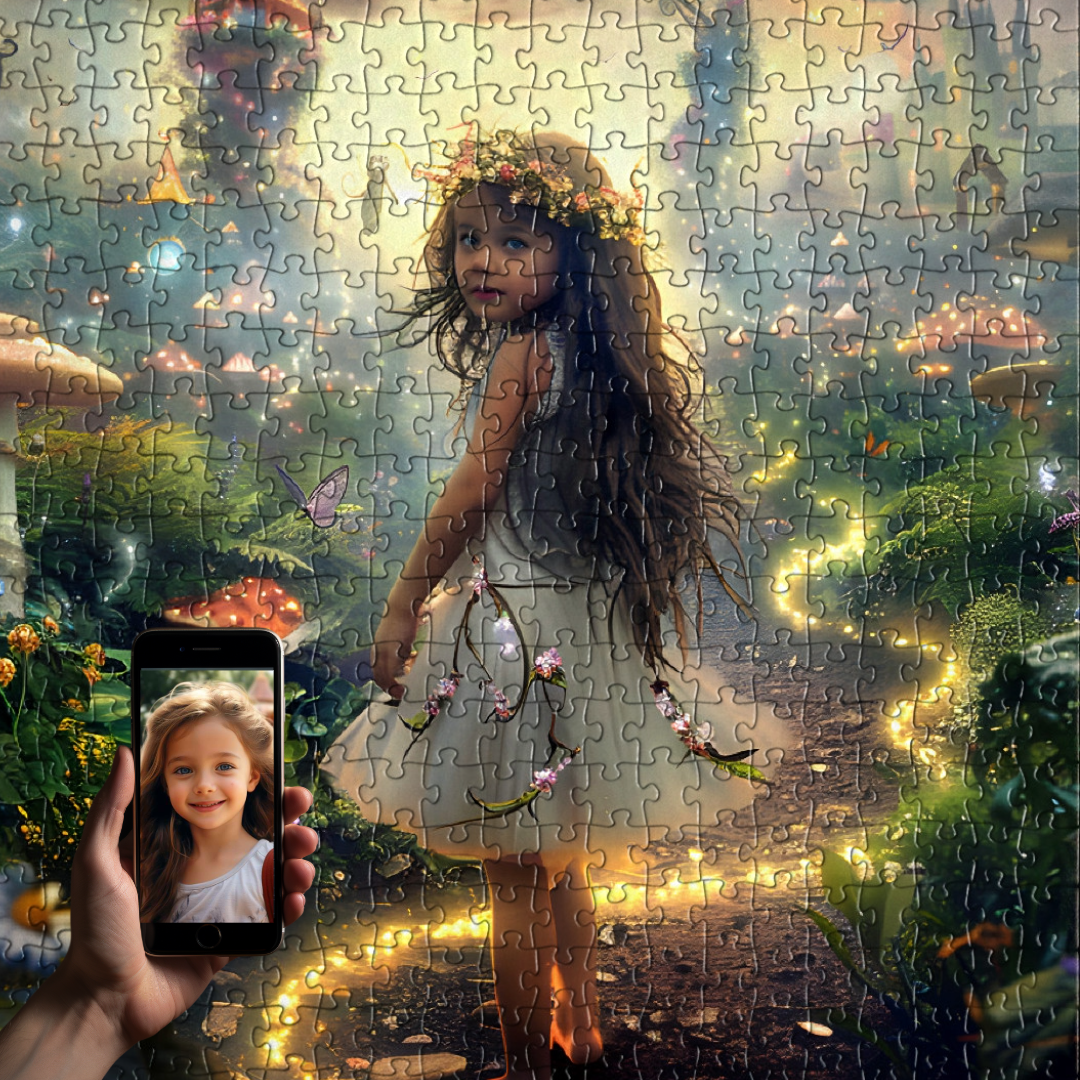
Framing makes the most sense when the image actually deserves wall space. A generic landscape from the bargain bin rarely earns the effort. A puzzle that pictures your child as an astronaut, a firefighter, or a pirate is a different story. Pieces with a personalised illustration (like our First girl on the moon or Firefighter boy designs) double as decor because they are, quite literally, a portrait. A custom photo puzzle made from a family snapshot is another natural fit, since the finished piece is essentially a printed memory.
If you want to go deeper on the protection side (storage, humidity, light damage, long-term care), our companion piece on how to preserve and display a completed puzzle covers preservation in detail.
Method 1: The Free DIY Approach (Glue, Cardboard, Tape)
This is the method to use when you want a near-zero cost option, or when your child wants their puzzle on the wall tonight. It also happens to be the foundation of every other method, because no matter how you frame a puzzle, you have to glue it first.
What you need
- Puzzle glue (more on which kind below)
- A foam roller or wide foam brush
- A sheet of parchment paper or wax paper, slightly larger than the puzzle
- A piece of sturdy cardboard or foam board, same size as the puzzle
- Masking tape or removable Command strips
Which glue works best
This is the single most important decision, because the wrong glue will yellow your puzzle in two or three years. Here is the short version:
- Puzzle conserver (acid-free, archival): the best option. Dries clear, stays clear, and is designed specifically for this job. Brands like Jigsaw Puzzle Conserver or Eurographics Smart Puzzle Glue work well.
- Mod Podge: acceptable in the short term, but it tends to yellow after a few years, especially in sunny rooms. Fine if you accept that the puzzle is a 2 to 3 year display piece.
- PVA white glue (like school glue) diluted with water: a budget-friendly option. Mix roughly three parts glue to one part water. Goes on milky, dries clear. Not as archival as puzzle conserver, but cheap and effective.
Step by step
- Lay the puzzle flat on parchment paper. Parchment is key because glue will not stick to it. Newspaper or printer paper will fuse to the back of your puzzle and ruin it. Press all pieces firmly so there are no gaps or raised edges.
- Pour a small amount of glue in the center. Start with less than you think. You can always add more.
- Spread with a foam roller in one direction only. Roll from one edge to the other, lift, and start again from the same side. Rolling back and forth lifts pieces and creates streaks. One thin even coat is better than one thick uneven coat.
- Check for bubbles. Small bubbles usually flatten as the glue dries. For larger ones, gently press them out toward the nearest edge with the roller while the glue is still wet.
- Let it dry flat for 24 hours. Do not lift it, do not tilt it, do not let a curious sibling poke it. Drying flat is what prevents curling.
- Flip and glue the back (optional but recommended). A thin coat of glue on the back, once the front is fully dry, adds rigidity and prevents the puzzle from warping over time. Let it dry another 12 to 24 hours.
- Mount on cardboard or foam board. Cut a piece to match the puzzle exactly. Apply a thin layer of glue (or use double-sided tape for a non-permanent option) and press the puzzle down. Place a heavy book on top for an hour to ensure flat contact.
- Attach to the wall with masking tape or Command strips. For a child's bedroom, Command strips are ideal. They hold securely, do not damage paint, and let you move the puzzle if you rearrange the room.
Total cost: under ten dollars if you already have cardboard at home. Total active time: about 20 minutes, plus drying.
Method 2: The IKEA Frame Approach (Mid-Range)
If you want something that looks finished and intentional without paying for custom work, a ready-made frame is the sweet spot. IKEA is the easiest source because their sizes are consistent across stores and their prices are predictable. The trick is matching the puzzle to the right frame.
Sizing chart for SwappyPrint formats
Our puzzles come in five standard piece counts, each with a slightly different finished size. Here is a rough guide to which IKEA frame fits each one. Always measure your finished puzzle first, since exact dimensions can vary by a few millimeters.
- 30 pieces (approx. 27 x 19 cm): IKEA FISKBO 21x30 cm. The puzzle sits comfortably with a small border. Trim a thin strip of mat board if you want it tighter.
- 110 pieces (approx. 37 x 28 cm): IKEA KNOPPÄNG or FISKBO in 30x40 cm. Add a simple white mat to bridge the gap.
- 252 pieces (approx. 48 x 34 cm): IKEA RIBBA 40x50 cm with a custom-cut mat, or KNOPPÄNG 50x70 cm with a generous border.
- 500 pieces (approx. 48 x 34 cm or 61 x 46 cm depending on cut): IKEA RIBBA 50x70 cm works for both with a mat.
- 1000 pieces (approx. 68 x 48 cm): IKEA RIBBA 50x70 cm fits snugly without a mat, or step up to HOVSTA 61x91 cm for a more decorative finish.
How to mount it
Glue the puzzle first (see Method 1). Then remove the glass from the frame, set the puzzle on the backing board, and reassemble. If the frame is deeper than the puzzle and shifts, add a small piece of foam board behind it to lift it forward against the glass. For most kids' rooms, we recommend skipping the glass entirely if the room sees rough play. Glass and toddlers are not friends. The puzzle, once glued, holds up fine on its own.
Method 3: Custom Framing (Premium)
If the puzzle is a milestone (first finished 500-piece, a personalised portrait, a gift from a grandparent), custom framing turns it into an heirloom. A good local frame shop will do the whole job for you in about a week. Walk in with your glued, mounted puzzle and ask for these three things:
- Acid-free matting. Standard mats contain acids that yellow paper over time. Acid-free (sometimes called conservation or museum) mats keep the puzzle's colors true for decades.
- UV-protective glass or acrylic. Sunlight is the single biggest threat to printed colors. UV-filtering glazing blocks roughly 99 percent of damaging rays. For a child's room with afternoon sun, this is worth every cent.
- A simple frame profile. Resist the urge to over-style. A thin black, white, or natural wood frame lets the puzzle (and your child's face, if it is a personalised design) stay the focus.
Expect to pay somewhere between 80 and 200 dollars depending on size and region. It is more than IKEA, but the result is genuinely archival, and the shop will handle mounting and hanging hardware for you.
Frameless Display Options
Not every puzzle needs a frame. For a child's room, a frameless display is often more playful and easier to update as your child's tastes change.
- Command strips directly on the back. Glue the puzzle, mount on foam board, attach four Command strips to the foam board, press to the wall. Holds for years, removes cleanly.
- Clipboard or magnetic board. Clip the glued puzzle to an oversized clipboard for a rotating display you can swap monthly.
- Picture ledge. Lean several finished puzzles along a narrow shelf. This works beautifully for families who build puzzles regularly and want a growing gallery.
- Washi tape border. For a quick, charming look, tape the puzzle directly to the wall with decorative washi tape on all four sides. Removes without damage, and your child can help.
Common Problems and How to Fix Them
The puzzle curled while drying
This happens when only the front is glued. Place the puzzle face down on parchment, put a few heavy books on top, and leave it for 24 hours. Then apply a thin coat of glue to the back to seal it permanently flat.
There are bubbles trapped under the glue
Small bubbles usually disappear as the glue dries. For stubborn ones, prick the bubble with a pin and press the area gently with a clean cloth. If the bubble is between the puzzle and the backing board, lift that corner carefully, add a dab of glue, and press flat under a book.
The glue dried streaky
Streaks come from rolling back and forth or applying too much glue in one spot. A second very thin coat, applied in one direction with a clean foam roller, usually evens it out.
Frequently Asked Questions
Can I frame a puzzle without gluing it?
Technically yes, by sandwiching it tightly between glass and a backing board in a deep frame. In practice, any movement (hanging, bumping, slamming a door) shifts pieces and creates gaps. Gluing takes 20 minutes and saves heartbreak later.
How long does a framed puzzle last on the wall?
With archival glue, UV-protected glazing, and out of direct sunlight, decades. With Mod Podge and no UV protection in a sunny window, expect noticeable yellowing within 2 to 4 years.
Will the glue damage the puzzle pieces?
No, as long as you use a glue designed for paper or a diluted PVA. The glue soaks into the seams between pieces and bonds the back, but does not interact with the printed surface in any harmful way.
Can my child help with the gluing?
Absolutely, and we recommend it. Children aged 4 and up can hold the foam roller with supervision and spread glue. It turns the framing itself into part of the project, which makes the finished piece even more meaningful when it goes on the wall.
What if I want to take the puzzle apart later?
Once glued, a puzzle is essentially permanent. If you think you might want to reuse the pieces, skip the glue and use a removable puzzle mat or a deep shadow-box frame that holds the pieces in place by pressure alone.
A finished puzzle is more than a completed activity. It is a record of focus, patience, and pride, especially when the picture features your child as the hero of the story. Framing it (whether with a five-dollar bottle of glue or a custom shop down the street) tells your child that their work matters enough to live on the wall. If you are still choosing which puzzle to build next, picking one with an image worth displaying is half the work already done. The rest is just a foam roller and a quiet afternoon.



Share and get 15% off!
Simply share this product on one of the following social networks and you will unlock 15% off!